Panoply on Redshift
To connect Looker to Panoply:
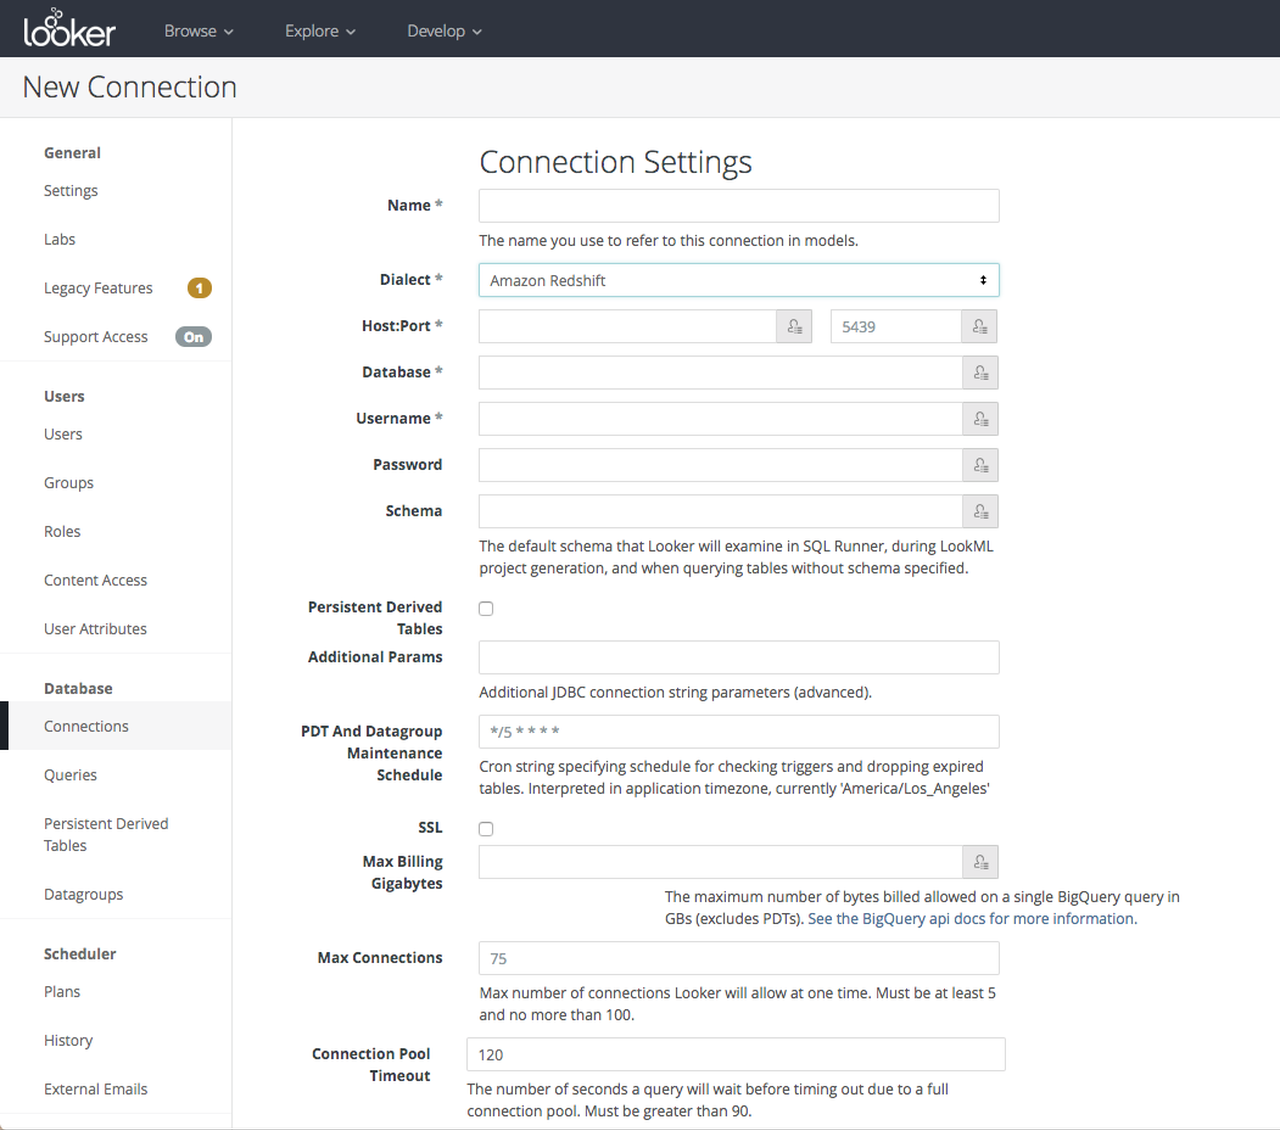
- In Looker, browse to Admin, then under the Database heading click Connections, and then click New Connection.
- Enter a name for your database. This is not your username or your database name in Panoply.
- In the Dialect field, select Amazon Redshift.
- Enter the host and port details, which you can find in Panoply on the Connect tab.
- Enter your Panoply database username, password, and database name. You can find your username and database name in Panoply on the Connect tab.
- Enter your schema name. Depending on how data is imported in Panoply from your data sources, the appropriate schema could be
publicor a specific schema name. You can identify the available schemas by clicking Analyze in the navigation menu, which opens the Panoply workbench. Your tables and views are listed in the right-hand column and are organized by schema.
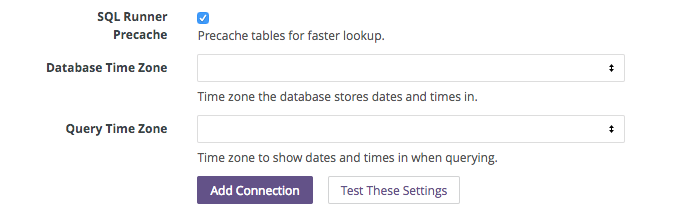
- (Optional) Configure the additional Looker Connection Settings.
- (Optional) Set up a temporary schema. A temporary schema is required if you use Looker's Persistent Derived Table feature. This feature improves query speed and reduces database load. The temporary schema is where Looker writes results as materialized views. To set up, follow these instructions:
- In Panoply’s Analyze page
- While logged in to your warehouse as an Admin user, run:
CREATE SCHEMA looker_scratch;
- While logged in to your warehouse as an Admin user, run:
- In Looker
- Check the Persistent Derived Tables box in the connection panel. This will reveal the Temp Database option.
- Type the name of the temp schema (most likely
looker_scratch).
- In Panoply’s Analyze page
- Click Add Connection.
You have successfully connected Looker to your Panoply data warehouse.