Redshift
Connecting Precog
Precog uses AWS S3 buckets in order to load data to your Panoply account. You will need to have a S3 bucket and its access key and secret available.
- In the Panoply navigation menu, click BI Connection. This displays your Panoply data warehouse's connection details.
- Copy your database name and username.
- Sign into your Precog account.
- Click the Destinations.
- Search for Panoply Redshift.
- Click the Panoply icon.
- Name the destination.
- Enter your AWS S3 bucket name, access and secret keys and the bucket region
- Enter the JDBC connection URL (replace
dbnamewith your Panoply account name):jdbc:redshift://db.panoply.io:5439/dbname. - Enter the destination schema.
- Enter your Panoply username and password.
- Select Keys as the authorization type.
- Re-enter your AWS access key, secret and the bucket's region.
- Click on Add.
- Select which tables you wish to connect to this destination.
Connecting Stitch
- In the Panoply navigation menu, click BI Connection. This displays your Panoply data warehouse's connection details.
- Copy your host, port, database name, and user name.
- Sign into your Stitch account.
- Head to the destination tab and click the Panoply icon.
- When prompted, enter the information you collected from the Panoply BI Connection section into the corresponding fields in Stitch:
- Host (Endpoint): The host name you received from Panoply (
db.panoply.io) - Port: The port number you received from Panoply (
5439) - Username: The user name you set for your Panoply account
- Password: The password you use to log into Panoply
- Database: The name of the Panoply database to load data into (be sure to specify the correct database name if you have multiple databases attached to your account)
- Host (Endpoint): The host name you received from Panoply (
Connecting Fivetran
- In the Panoply navigation menu, click BI Connection. This displays your Panoply data warehouse's connection details.
- Copy your host, database name, and user name.
- Sign into your Fivetran account.
- Pause all integrations in the Fivetran dashboard.
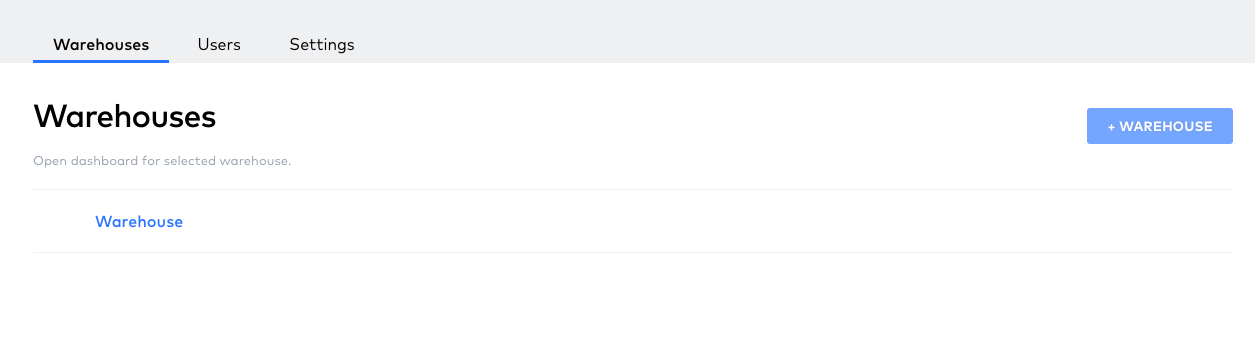
- Login to your account page, navigate to your account and click the +WAREHOUSE button.
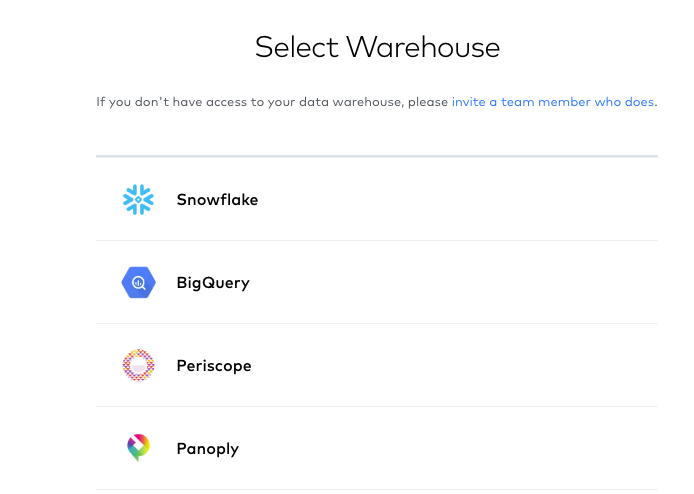
- Under Select Warehouse, scroll down until you find Panoply.
- Fivetran will automatically add Panoply's Port information, but you will need to enter Panoply's Host name (
db.panoply.io), your Panoply User namme, the password associated with your Panoply account, and the Database you want to use Fivetran to load data into.
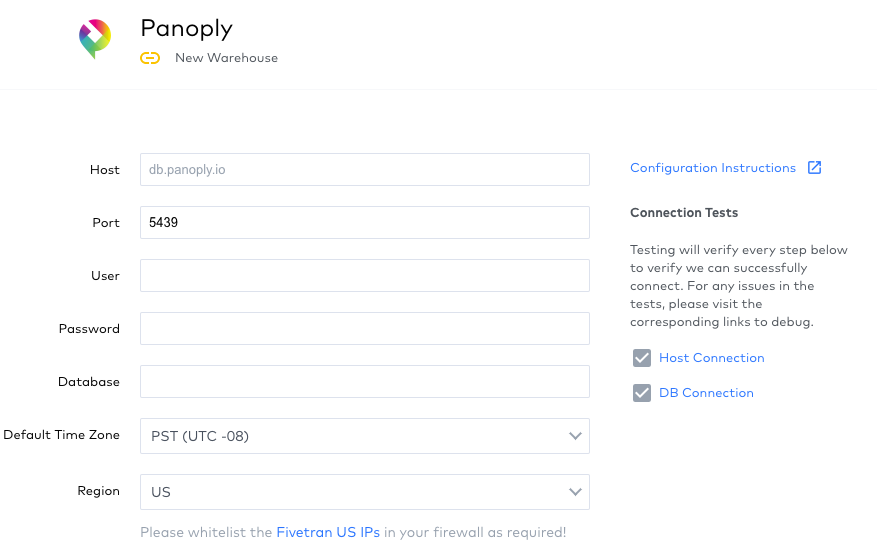
- Click SAVE & TEST at the bottom of the screen. When the test is successful, a box at the bottom of the screen says "All connection tests passesd!"
- Click VIEW WAREHOUSE. You should see the details of your Panoply warehouse in the next page. You can now load data into Panoply using Fivetran.